~~~~~~~~~~~~~~~~~~~~~~~~~~~~~
I made a lot of one-dimensional photographs over the past couple of days. You can see them all here. I like looking at them, they force me to think a lot more about the composition of my photos as I try to interpret the dynamic events in these videos and relate them to the original photographs. It also makes me think more about the colours that are in them. People often complain to me that my photos are too saturated. I like colours.
Pete and Adrienne have asked how these were made. It is not so straight-forward, so I have put the description on here. First, you take a video-frame-sized photograph like this one:

Then, you have to take a tiny horizontal slice of it (as thin as possible, one pixel high) like this:

 Then, you take this slice and copy it as many times as your original frames has pixels in height (576 in this case) to give an image like this:
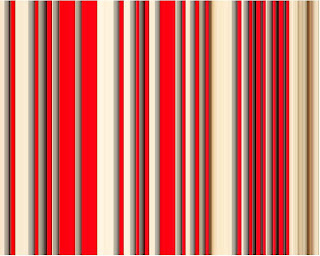
This image is a rectangle with the same dimensions as the original image, but it is one-dimensional in that it is a magnification of the thinnest slice possible of the original, effectively removing the vertical dimension from the photo. All variation now occurs in the horizontal dimension.
This gives you one frame for the video. Basically, you need to repeat this for each row of pixels in the original photograph, and patch the resulting one-dimensional images together (in order) to produce a video 576 frames (23.04 seconds) long.
You can download an XVid .avi of this example here. Or else you can look at it here:
Free Trade on Vimeo
Technical info: To produce a one-dimensional frame as above, I converted photographs into arrays of RGB values (triplets of integers between 0 and 255 representing the colour of each pixel). I then took rows of these arrays, copying them 576 times to make a new arrays, and then converted these new arrays back into photographs. I'm sure there are many different tools you could use to do this, but I used Mathematica 5.0.
